

You finally installed a keypad door lock — no more fumbling for keys, no more hiding a spare under the doormat. But now comes the part that trips up a surprising number of people: actually programming it. Setting a master code is just the beginning. If you want real security and real convenience, you need to know how to add multiple user codes, remove access when it's no longer needed, and — if you have a smart lock — set up timed schedules so the right people can enter only when they're supposed to.
This guide covers all of it. Whether you're working with a straightforward keypad deadbolt that you program directly on the device, or a Wi-Fi smart lock you manage from your phone across town, you'll find clear, step-by-step instructions for every situation. We'll also walk through common real-world setups — from parents monitoring when kids get home to property owners managing guest access remotely — so you can configure your lock for your actual life, not just a generic demo scenario.
Why Programming Your Keypad Lock the Right Way Matters
A keypad lock is only as secure as its programming. A factory-default code left unchanged, a shared code never deleted, or an old contractor code still sitting in memory — any of these create real vulnerabilities. Proper programming isn't a one-time setup task; it's an ongoing habit that keeps access tightly controlled. The good news is that modern keypad locks make this far easier than it sounds, and once you understand the logic, managing codes for a household of five or a short-term rental with rotating guests takes only a few minutes.
Know Your Lock Type Before You Start
Programming steps differ meaningfully depending on which category of lock you have. Understanding the difference upfront saves a lot of frustration.
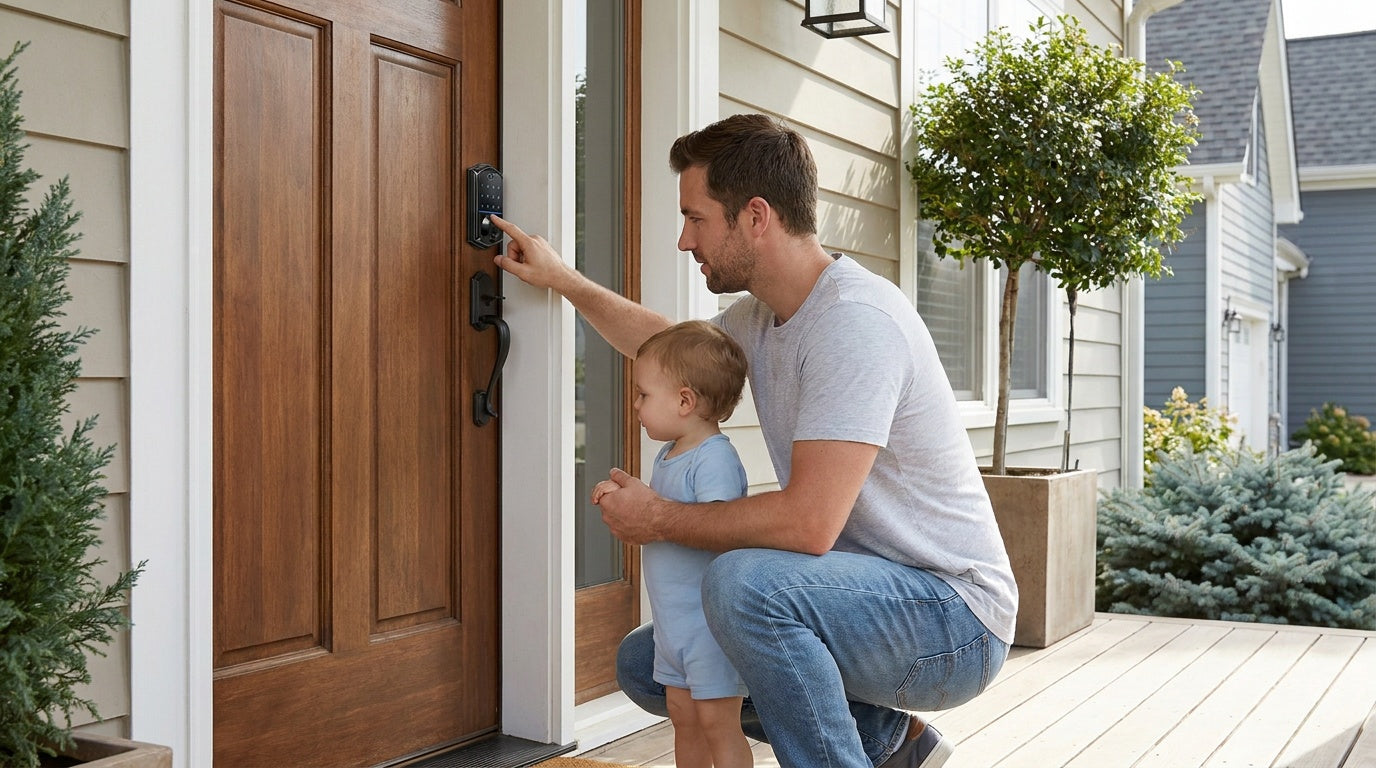
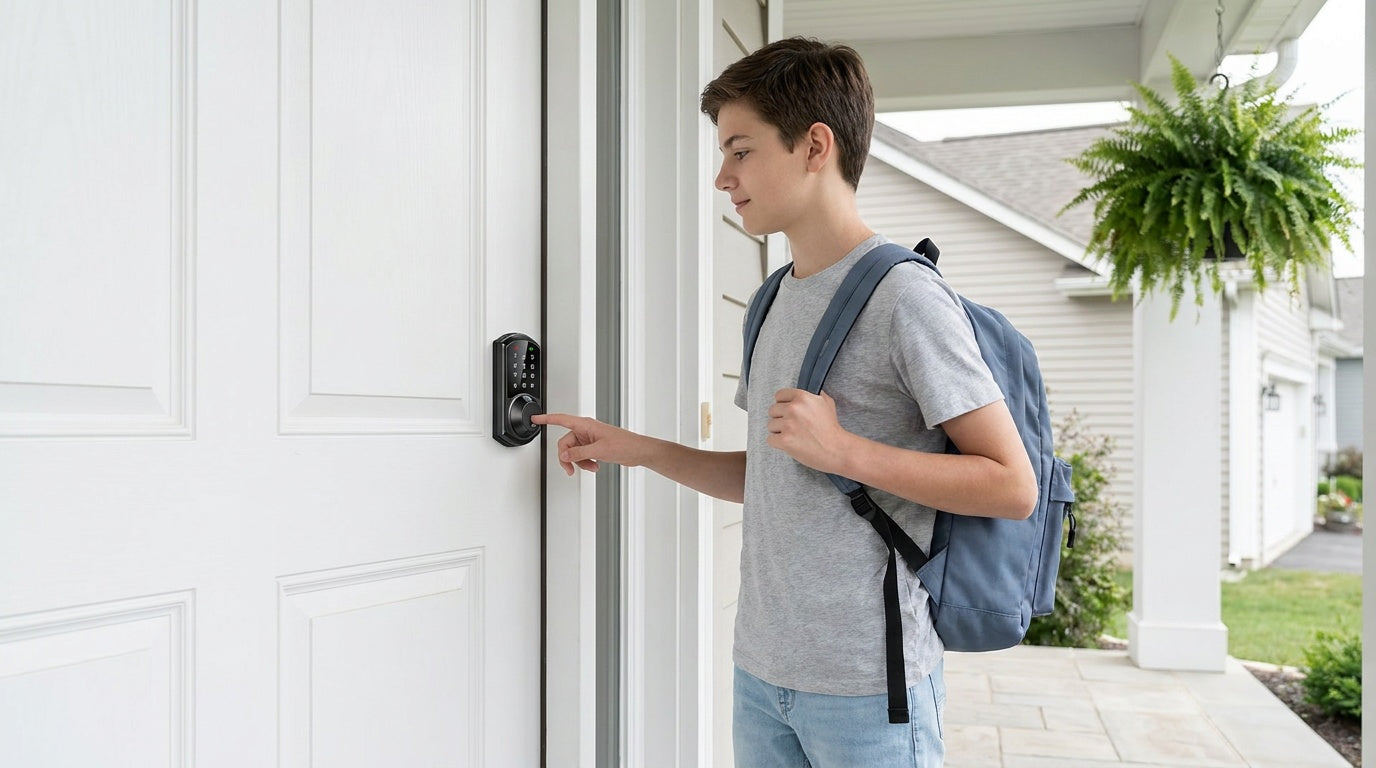
Keypad Deadbolt: The most common exterior-door choice. All models support keypad code entry and include a physical key as a backup. Select models also include a built-in fingerprint reader. Programming is done directly on the lock using the keypad — no app, no hub, no Internet connection needed. If you want a reliable, no-fuss lock for a front or back door on a wood-framed home, a keypad deadbolt is a strong fit.
Keypad Latch Lock: A compact, integrated unit built for interior doors, side entrances, office spaces, or garage access points where a full deadbolt isn't the right fit. Current models support keypad code and a physical key only — there's no fingerprint, no app control, and no key fob. Simple to program, simple to use. Browse the keypad latch lock lineup if that matches your setup.
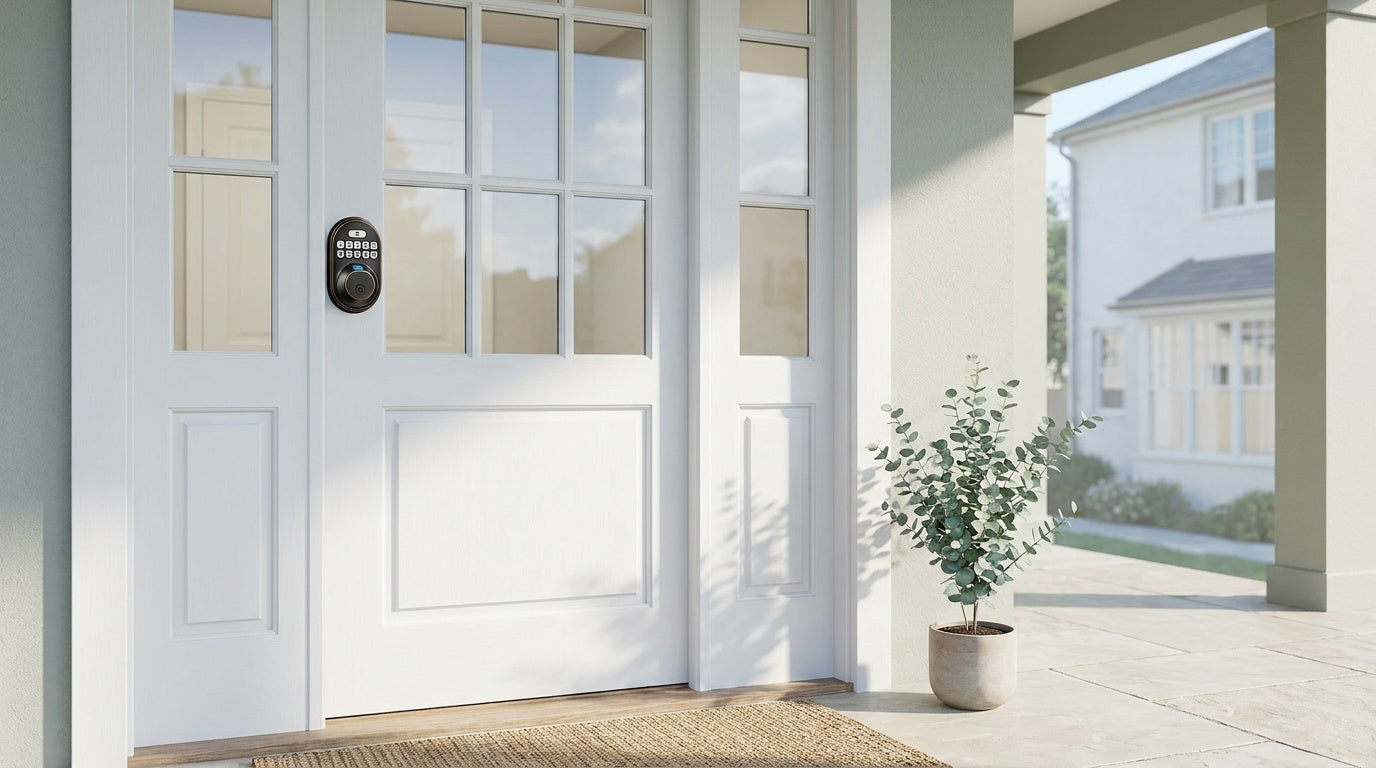
Smart Lock w/ Gateway (G1 or G2): A connected lock that pairs with a separate gateway device to give you remote app control, entry history, and timed access scheduling — all managed from your phone. Every model in this category supports keypad code, key fob, physical key, and remote app control via the paired gateway; fingerprint is standard across the entire Smart Lock w/ G1 line and included on many Smart Lock w/ G2 models. The G1 line also features multilingual voice prompts (English, Spanish, and French), which is worth knowing if your household includes non-English speakers. See the Smart Locks w/ G1 and Smart Locks w/ G2 collections for options.
Wi-Fi Smart Lock: The most connected option. Built-in Wi-Fi means no separate gateway is required — the lock connects directly to your home network and gives you full remote access, real-time alerts, and scheduling from anywhere. Physical key backup is included on all models; key fob is supported on the VE027 series (all models) but not on the VE012W series. Wi-Fi smart locks also support voice control through Alexa and Google Assistant natively via the built-in Wi-Fi connection. Explore the Wi-Fi Smart Lock collection if remote monitoring and scheduling are priorities.
Step 1 — Set Your Master Code
The master code is the primary access credential for your lock. It is used to enter programming mode and manage user codes, including adding and deleting access credentials. Each Veise lock is shipped with a default master code set at the factory, allowing you to complete initial testing after installation. The default master code can be found in the included user manual and should be changed after installation for security.
For keypad deadbolt and keypad latch locks, all programming is performed directly on the lock. Enter programming mode using the keypad’s function button together with the master code, following the sequence shown in your user manual, as button layouts and steps vary by model. Once in programming mode, you can change the master code, add users, or delete codes.
- Enter programming mode — use the function button and master code as directed in your manual. The lock confirms entry with a light indicator (typically a green flash).
- Select the master code change option — follow the model-specific sequence in your manual.
- Enter your new master code — choose a 4–10 digit code that avoids predictable patterns.
- Confirm the new code — re-enter it to complete the update. The green light indicates success.
On smart locks (Wi-Fi or gateway-paired models), master code and user management can also be handled through the app after initial setup, providing an additional way to manage access without using the keypad.
Step 2 — Add User Codes for Family, Guests, and Staff
User codes are separate entry codes assigned to specific people. Giving each person their own code — rather than a shared household code — lets you manage access individually and remove or update one person's access without affecting everyone else. On connected locks, user code activity can also be viewed in the app.
On keypad deadbolt and keypad latch locks, user codes are added and deleted directly at the lock using the master code and function button, following the sequence shown in your manual.
On smart locks, user codes can also be managed through the app. Depending on the model, you can create different types of PIN codes, such as permanent, temporary, recurring, or one-time access codes, making it easier to manage family members, guests, service providers, or rental access. Refer to your model's user manual for the PIN code types and options available on your lock.
Step 3 — Schedule Timed Access (Connected Locks Only)
Scheduled codes allow a PIN code to work only during specified days and time periods instead of remaining active 24/7. This is useful for recurring visitors such as cleaners, caregivers, property managers, or short-term rental guests.
On Veise Smart Lock w/ G1 and Wi-Fi Smart Locks, scheduled access is available through Recurring and Duration PIN code types. Smart Lock w/ G2 supports a different code structure. One-time codes are available across the Veise lineup and automatically expire after a single use.
To create a scheduled code, use the app to select the desired PIN code type and configure the active days and time period. Once saved, the code will work only during the defined schedule.
Remote scheduling and code management require a Wi-Fi Smart Lock or a gateway-paired Smart Lock. Keypad Deadbolt and Keypad Latch models do not support remote scheduling features.
Step 4 — Delete or Change Codes Safely
Removing access is just as important as granting it. Whether a contractor has finished a job, a guest has checked out, or access is no longer needed, user codes should be removed promptly to avoid unnecessary security risks.
On keypad deadbolt and keypad latch locks, user codes are deleted at the keypad using the master code and function button, following the sequence shown in your manual.
On smart locks, user codes can also be deleted through the app, where changes sync to the lock automatically. This allows access to be updated without programming the lock directly.
Deleting a user code removes access for a specific user. If you need to remove all stored credentials and restore the lock to its default settings, perform a factory reset instead. Refer to your user manual for the reset procedure, as it varies by model.
Step 5 — Enroll Fingerprints (Select Models)
If your lock includes a fingerprint reader — available on select keypad deadbolts (KS02 series), across the Smart Lock w/ G1 line, on many Smart Lock w/ G2 models, and on all Wi-Fi smart locks — fingerprint enrollment is recommended for regular household users. It provides fast, convenient access and removes the need to remember or share codes for daily entry.
To enroll a fingerprint:
- Enter fingerprint programming mode — using the multi-function button and master code following your manual.
- Place your finger on the reader eight times — repositioning slightly each time to capture a complete template from different angles and pressure points.
- Watch for confirmation — the scanner beeps after each scan, and once all eight scans are completed the green light flashes to confirm enrollment.
- Test immediately — scan the finger a few times to confirm reliable recognition before relying on it.
Fingerprint data is stored locally on the lock and processed on-device, with no upload to external accounts or cloud services. This helps keep biometric data private and allows fingerprint access to work even without an Internet connection. Multiple fingerprints can be stored per lock, making it suitable for households of different sizes.
Programming for Real-Life Scenarios
Parents monitoring kids' arrivals: For households where knowing when children arrive home matters, a Wi-Fi smart lock or Smart Lock w/ Gateway 1/2 delivers real-time entry notifications to your phone. Set each child up with their own code or enrolled fingerprint. Every time they enter, you get an alert — no texting required, no guessing. For families with young children, a keypad deadbolt or keypad latch lock won't send notifications; a connected smart lock is the right choice for this use case.
Managing a short-term rental: As a property owner, you can assign each guest a unique code with a scheduled validity window tied exactly to their booking dates. When checkout time arrives, the code expires automatically. No key handoffs, no lockbox combinations to change, no chasing down keys after a stay. Both gateway-paired smart locks and Wi-Fi smart locks support this workflow.
Elderly family members: Fingerprint entry is often the most accessible option for elderly users who find keypads fiddly or code memorization difficult. Enroll their fingerprint once, and entry is effortless. If the lock is on a location where the user might be alone and a lockout could be a safety issue, the VE017 series (Smart Lock w/ G1) and VE027 series (Wi-Fi Smart Lock) both include a USB-C emergency power port — useful if the batteries run low and the user can't easily replace them.
Recurring service providers: For a house cleaner, dog walker, or maintenance person who visits on a regular schedule, set up a dedicated user code with a recurring time-window schedule. They have reliable access during their window; outside of it, the code simply doesn't work. No need to change codes after each visit.
Best Practices for Keypad Lock Programming
- Change the factory default code on day one. Never leave a lock on its out-of-the-box master code.
- Give each person their own code rather than a shared household code. Individual codes make it easy to track access and revoke entry selectively.
- Use codes that are 4 to 10 digits long and avoid predictable patterns — no birthdays, no sequential numbers, no repeating digits like "111222".
- Test every new code before relying on it. Program it, close the door, and confirm entry works before handing it off.
- Review and prune user codes periodically. At least every few months, check who has active access and remove anyone who no longer needs it.
- Use timed access for temporary users — contractors, guests, and service providers should never have permanent codes when a scheduled window will do the job.
- Enable auto lock. Auto lock is off by default; you can configure the interval between 10 and 99 seconds on Keypad Deadbolt and Keypad Latch locks, or 10 to 180 seconds on connected models. It fires on the timer regardless of door state, so make sure the door is closed before the interval expires — then you never have to wonder if you remembered to lock up.
- Keep a secure record of your master code in a password manager or a physically secure location — not on a sticky note near the door.
Final Thoughts
Programming a keypad door lock is one of those tasks that feels intimidating the first time and routine by the second. Once you understand the difference between a master code and a user code, know how to add and remove access, and understand what scheduling can do for your daily life, you're equipped to run a genuinely secure and convenient home entry system. The right setup depends on your lock type — a straightforward keypad deadbolt or latch lock handles most household needs with simple on-device programming, while a smart lock adds the remote visibility and scheduling power that parents, rental property owners, and busy households rely on.
Whichever category fits your situation, Veise builds every lock in-house — from the hardware engineering to the firmware — so the product you set up today is backed by a team that understands every detail of how it works. No OEM guesswork, no subscription fees, and fingerprint data kept on-device.
Frequently Asked Questions
How many user codes can a keypad door lock store?
This varies by model. Veise keypad locks store plenty of user codes — enough for a household of any size. Check your specific lock's included manual for the exact capacity. If you need to manage a large number of users — such as in a rental property with frequent guest turnover — a smart lock with app-based user management makes adding and removing codes significantly easier than working through the keypad directly.
Can I program a keypad lock without the master code?
If you've lost the master code, most locks can be factory reset, which clears all stored codes and restores the default master code. This typically requires physical access to the interior side of the lock and a specific button sequence outlined in the product manual. After a reset, you'll need to re-enroll all user codes and fingerprints from scratch.
Do I need an Internet connection to program a keypad lock?
No. Programming directly on the lock's keypad never needs an Internet connection — that's true for keypad deadbolts and keypad latch locks as well as for connected smart locks, which can still be programmed right at the keypad with no network. On smart locks, the app simply adds remote convenience; its initial setup benefits from an active Internet connection, but you can keep managing codes locally on the lock itself even when Wi-Fi is down.
How do I set up timed access for a guest?
Timed access scheduling is available on smart locks, including both Wi-Fi smart locks and gateway-paired smart locks. In the app, go to the PIN code settings and follow the on-screen prompts to enable timed access and set the active days and time period (refer to your user manual for exact steps). Outside of the configured schedule, the code will not unlock the door. Day-and-time scheduling is not available on Keypad Deadbolt and Keypad Latch models. However, these locks still support one-time codes that automatically expire after a single use.
Is it safe to give a contractor a keypad code?
Yes, but use a dedicated code — not your personal or household code. On a smart lock, schedule the code for the exact dates the contractor is on-site; a scheduled or one-time code expires automatically when the window ends, so there's no need to delete it manually. If you're using a keypad deadbolt or keypad latch lock, manually delete the contractor's code as soon as they're done.
What's the difference between a master code and a user code?
The master code is the administrative credential that lets you access the lock's settings — adding users, deleting codes, and changing configurations. User codes are the everyday entry codes assigned to individual people. User codes only unlock the door; they don't grant access to programming mode. Keeping these separate is important: your master code should never be shared, while user codes can be distributed as needed.
Not Sure Which Veise Lock Is Right for Your Home?
Whether you need a simple keypad deadbolt for a single door or a Wi-Fi smart lock you can manage from anywhere, Veise has a solution built in-house — not sourced from a third-party OEM — and priced between $30 and $180 with no subscription fees. Our US-based support team is ready to help you find the right fit.
Leave a comment
This site is protected by hCaptcha and the hCaptcha Privacy Policy and Terms of Service apply.