

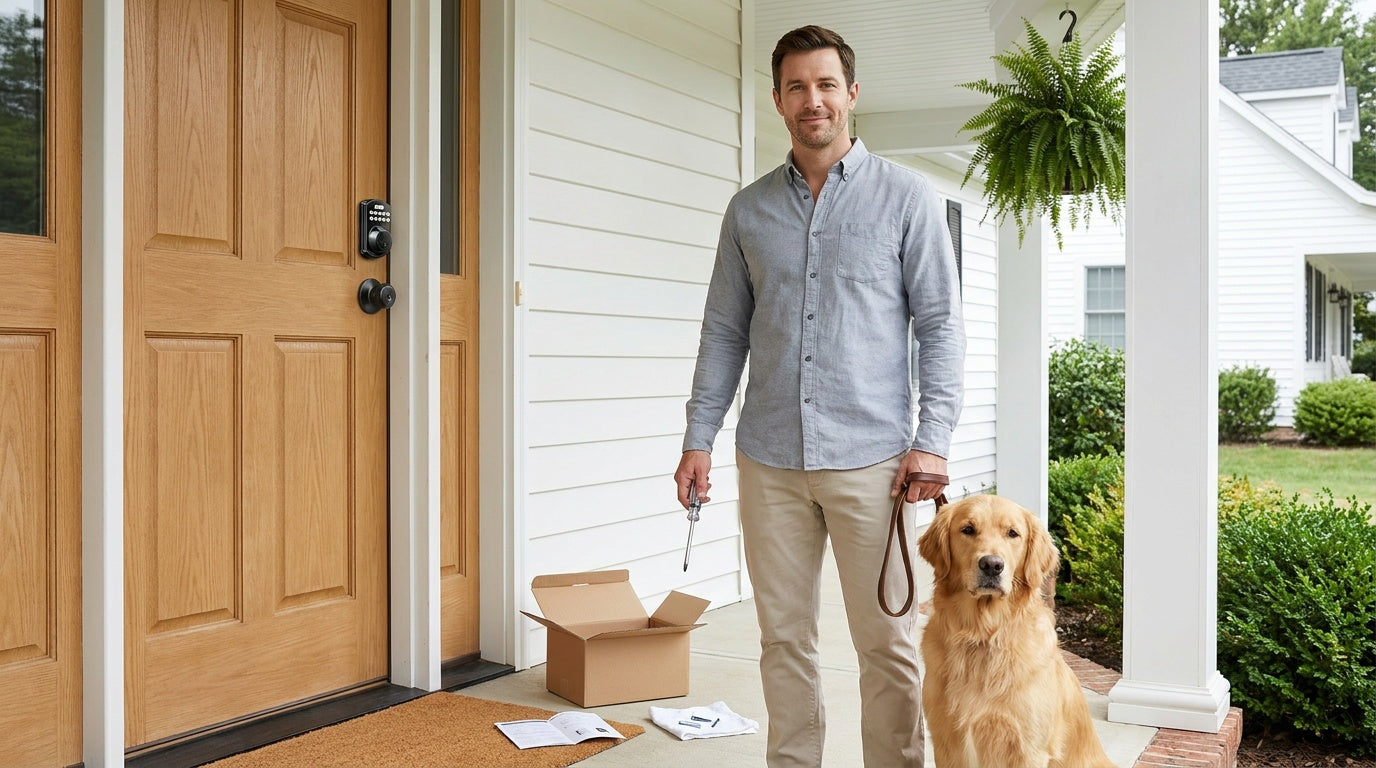
Installing a smart lock sounds like it should involve an electrician, a drill press, and at least one YouTube rabbit hole. In reality, most smart lock replacements take about 15 minutes with nothing more than a screwdriver. If you've ever swapped out a light switch plate or assembled flat-pack furniture, you have every skill this job requires.
This guide walks you through the complete process of installing a smart lock yourself — from checking your door upfront to programming your first access codes at the end. Whether you're a new homeowner replacing old hardware, a parent who wants to monitor when kids get home, or a landlord preparing a short-term rental for guests, the steps are the same and the result is a front door that works smarter without any wiring, subscription fees, or professional installation costs.
Before You Start: What to Check on Your Door
Not every door is a candidate for a smart lock, and finding that out mid-install is frustrating. Take two minutes to verify these points before you buy anything.
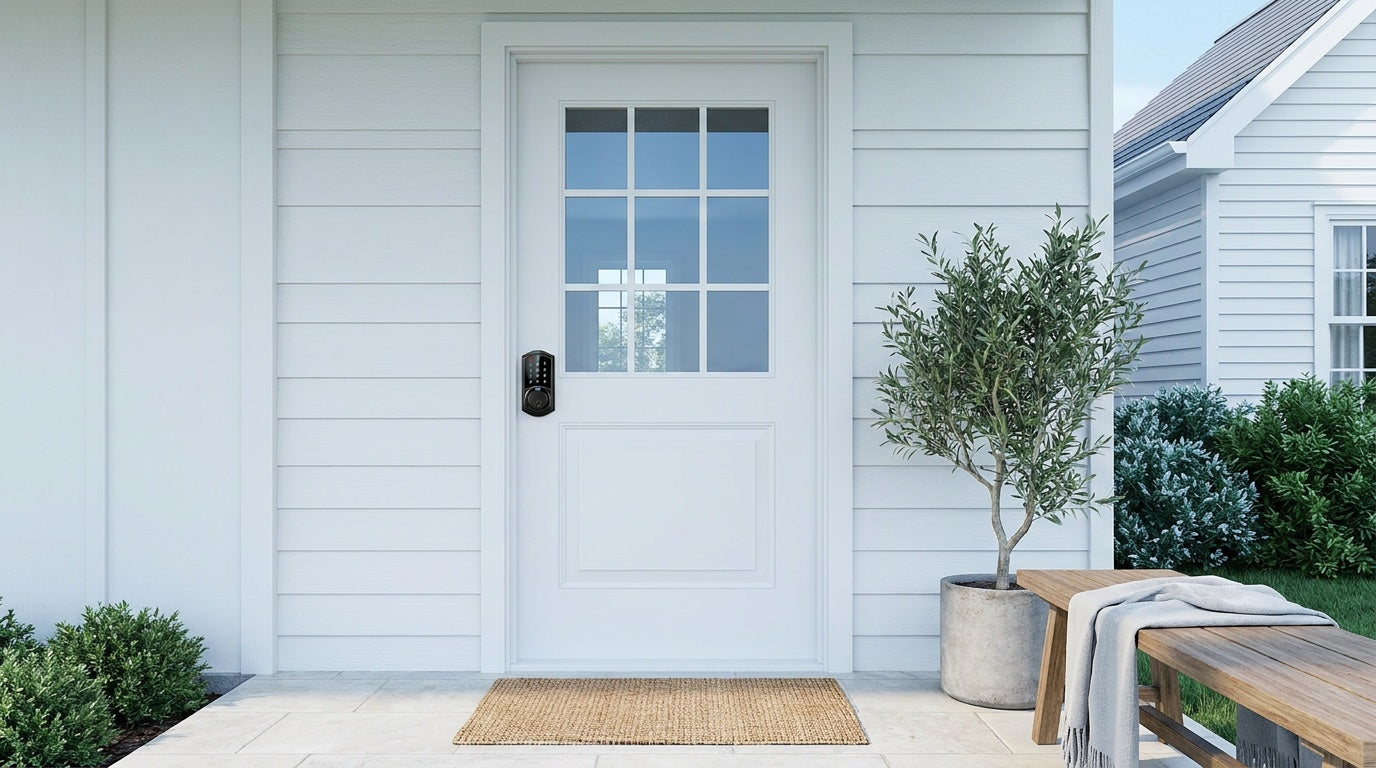
Door material. Smart locks are designed for wood doors. Fiberglass, metal, storm doors, and sliding doors are not compatible with standard smart lock hardware. If your front door is solid wood (the most common exterior door material in North American homes), you're good to go.
Door thickness. Standard smart locks fit doors between 1‑3/8" and 2" thick. Grab a tape measure and check the edge of your door. The vast majority of residential exterior doors fall in this range, but it's worth confirming before you order.
Existing prep holes. Look at your door edge and face. Most entry doors already have a pre-drilled hole for a deadbolt (a cross-bore hole through the face of the door and a smaller edge bore on the latch side). Smart locks use these same holes, so in most cases no drilling is needed at all.
Strike plate alignment. Check that the existing strike plate on your door frame is centered and the bolt extends fully without scraping. A misaligned strike plate causes locking problems that have nothing to do with the smart lock itself, so it's easier to fix now.
Property authority. Because a smart lock is a full lock replacement (not an overlay that clips onto an existing lock), you need to be the property owner or have explicit authority to modify the door hardware. If you're managing a rental property or vacation cabin, confirm this before proceeding.
What You'll Need
Smart lock installation is intentionally low-tool. Here's what to have on hand:
- A screwdriver
- Your new smart lock (with all included hardware — check the box for screws, strike plate, and any mounting plates)
- Fresh AA/LR6 alkaline batteries — Veise locks run on AA alkaline cells only (not lithium or rechargeable), and they do not ship with batteries, so pick up a new set before you start
- A tape measure (for the pre-check above)
- A smartphone, if your lock includes app-based setup
That's the full list. There's no wiring, no voltage testing, and no need to call a locksmith. The process is entirely mechanical.
Choose the Right Smart Lock for Your Door
Before diving into installation, it helps to understand which type of smart lock you're working with, because setup steps vary slightly by category. Veise makes four main lock types, each suited to different entry points and use cases.
Keypad Deadbolt Locks are the most common choice for exterior front doors. They replace your existing deadbolt and offer keypad code access plus a physical key backup on every model. The KS02 series adds a fingerprint reader — every KS02 SKU includes fingerprint. No Internet connection or gateway is required — these locks work completely on their own.
Keypad Latch Locks are an integrated handle-and-lock unit that fits naturally on interior doors, side entries, office doors, and apartment doors. The current lineup includes two SKUs: the KS03 with an integrated top knob and the KS04 with an integrated top lever. Both offer keypad code and physical key access.
Smart Locks w/ G1 and Smart Locks w/ G2 add remote access to the equation. Paired with a small gateway device (sold separately), these locks connect to your home network and let you lock, unlock, and review entry history from anywhere via a mobile app. Both Smart Lock w/ G1 and Smart Lock w/ G2 include keypad code, key fob, and physical key backup as standard. Smart Lock w/ G1 is built on a single product series — the VE017 — and the entire line ships with fingerprint, a USB-C emergency power port, and multilingual voice prompts in English, Spanish, and French — a strong fit for multilingual or non-English-speaking households and anyone concerned about being locked out during a dead-battery situation. Smart Lock w/ G2 adds Apple Watch unlock and web portal control as unique features, and is available in both fingerprint and non-fingerprint configurations (many G2 models include fingerprint); G2 voice prompts are English only.
Wi-Fi Smart Locks have Internet connectivity built directly into the lock body — no gateway needed. Just connect to your home Wi-Fi network during setup, and you have remote access, app control, and voice assistant support (Alexa and Google Assistant) through the lock's built-in Wi-Fi. Veise Wi-Fi smart locks support 2.4 GHz Wi-Fi only, not 5 GHz. The lineup includes two series: the Touchscreen Wi-Fi Smart Lock (VE027 Series) — a touchscreen interface, USB-C emergency power port, key fob support, and on-device voice prompts in English/Spanish/French across the entire line — and the Push-Button Wi-Fi Smart Lock (VE012W Series), a traditional press-button keypad without USB-C, key fob, or on-device voice prompts. Both series use 8 AA/LR6 alkaline batteries for stronger signal and a more stable connection than the 4‑AA designs common in the category.
If remote access matters to your setup, remember: remote control requires a smart lock — either gateway-paired (G1 or G2) or a Wi-Fi model. Keypad deadbolt locks and keypad latch locks alone do not support remote access without a paired gateway.
Step 1: Remove Your Existing Lock
With your new lock in hand and your tools ready, start by taking out the old hardware.
- Open the door and locate the interior mounting screws. These are typically two long screws visible on the inside face plate of your deadbolt or handle assembly. Remove them completely.
- Pull both sides of the lock apart. The interior and exterior assemblies will separate once the screws are out. Some older locks have an additional rose plate or trim ring — these simply lift off once the main screws are removed.
- Remove the bolt or latch from the door edge. There are usually two small screws on the faceplate of the latch/bolt on the edge of the door. Remove those screws and slide the bolt mechanism out of the edge bore hole.
- Set everything aside. Keep the old hardware for now in case you need to reference the hole spacing or bolt dimensions during install.
Once the old lock is out, take a moment to clean the door face with a dry cloth. Any grime or old adhesive around the bore holes can affect how cleanly the new hardware seats.
Step 2: Install the New Smart Lock
Every Veise lock ships with a step-by-step installation guide and an installation video — follow the included guide and video step by step for your specific model. The high-level sequence is the same across the lineup, but small details like alignment, screw selection, and cable routing vary by model and are covered in the included instructions.
- Install the latch and strike plate. Confirm your door's backset measurement, adjust the latch if needed, and insert the latch into the edge bore. Make sure the latch bolt is fully retracted (in the unlocked position) before proceeding. Secure the latch faceplate with the included screws, then install the strike plate on the door frame.
- Mount the exterior assembly. Position the exterior keypad assembly over the bore hole on the outside face of the door. Route the cable and insert the connecting components into the latch as shown in your installation guide. Do not insert the mechanical key into the lock cylinder during installation.
- Install the mounting plate and interior assembly. Secure the mounting plate to the door with the mounting plate screws — keep it parallel to the door edge and do not overtighten. Connect the cable from the exterior assembly, then attach the interior assembly to the mounting plate and tighten the interior assembly screws. The lock should sit flush against the door face on both sides.
- Test the bolt action. With the door open, rotate the interior thumb turn to extend and retract the latch bolt several times. It should move smoothly without grinding.
- Install the batteries and perform the initial reset. Do not load batteries until the lock is completely installed. Slide the battery cover off the interior assembly and insert fresh AA/LR6 alkaline batteries — use brand-new alkaline batteries only, do not mix old and new cells, do not mix brands, and do not substitute lithium or rechargeable AA cells. Veise Wi-Fi smart locks use 8 AA/LR6 alkaline cells; keypad deadbolts and keypad latch locks use 4 AA/LR6 alkaline cells. After loading the batteries, perform the initial reset with the door open and unlocked — this calibrates the lock to your door's opening direction.
Step 3: Program Your Lock (Codes, Fingerprints, and App)
With the hardware installed and the initial reset complete, your lock is already functional — every Veise lock ships with a preset default master code (printed in the included user manual), so you can lock and unlock immediately to confirm the install. The next step is to change the default master code to your own and set up personal access codes. Follow the included user manual step by step for the exact programming sequence on your model.
Changing the master code and adding access codes. Programming is done directly on the keypad using the multi-function button and your master code in a specific sequence — the included user manual walks through each step. First, change the default master code to a personal code of 4 to 10 digits. Then use the new master code to enter programming mode and add user PIN codes for family members or guests. For connected locks (Smart Lock w/ Gateway 1/2 and Wi-Fi Smart Locks), PIN codes can also be added and managed through the app.
Enrolling fingerprints. On models with a fingerprint reader, enter programming mode using the multi-function button and your master code, then follow the enrollment steps in the user manual. Place your finger on the scanner and lift it, then repeat — Veise locks capture your fingerprint eight times to build a reliable template across different angles and pressure levels. Once enrolled, the scanner recognizes your finger in under 0.3 seconds. The fingerprint data is processed and stored on the lock itself, with no cloud upload or Internet account required. For connected locks, fingerprints can also be enrolled through the app.
Connecting to the app (gateway-paired and Wi-Fi locks only). For Smart Locks w/ G1 or G2, place the gateway device near your router, plug it in, and follow the pairing instructions in the mobile app to link your lock to the gateway. For Wi-Fi Smart Locks, open the app, select your lock model, and enter your home Wi-Fi credentials — Veise Wi-Fi smart locks support 2.4 GHz Wi-Fi only, not 5 GHz, so make sure your phone is on the 2.4 GHz band during pairing. Once connected, you can lock and unlock remotely, set auto lock timers (configurable between 10 and 180 seconds), and review entry history from your phone. Note: if your Wi-Fi goes down but you're within short-range wireless distance of the lock, app control continues to work locally for gateway-paired and Wi-Fi models.
Enabling voice control. Wi-Fi Smart Locks connect to Alexa and Google Assistant directly through their built-in Wi-Fi — just link the skill in your voice assistant app. For Smart Locks w/ G1 or G2, voice control works once the gateway is in place and the lock is linked to your voice assistant account through the app.
Step 4: Test Everything Before You Close the Door
This step sounds obvious, but skipping it is how people end up locked out of their own homes. Do all testing with the door open.
- Enter each access code you programmed and confirm the bolt retracts correctly.
- Test fingerprint unlock for each enrolled finger.
- If you have a physical key, insert it and confirm it turns smoothly.
- If your lock includes a key fob, test it from inside the door with the door open.
- For app-connected locks, use the app to lock and unlock the door while watching the bolt respond.
- For voice-enabled locks, give a lock and unlock command through Alexa or Google Assistant.
Once everything checks out with the door open, close the door slowly and confirm the bolt aligns with the strike plate. A slight misalignment (where the bolt scrapes or catches) usually means the strike plate needs minor adjustment — loosen its screws, shift it slightly, and retighten. Then test the full lock cycle one more time with the door closed and latched.
Common Installation Problems and How to Fix Them
Even a straightforward install occasionally hits a snag. Here are the issues that come up most often and how to handle them.
The bolt doesn't extend or retract smoothly. This is almost always a bolt-to-strike-plate alignment issue, not a lock defect. Loosen the strike plate screws, shift the plate until the bolt catches cleanly, and retighten. You can also file the strike plate opening slightly larger if the misalignment is minor.
The lock doesn't power on after battery installation. Double-check battery orientation — it's easy to put one in backward. If orientation is correct and there's still no power, try a fresh set of batteries. Some AA batteries that have been sitting in storage lose enough charge to fail the startup sequence.
The keypad accepts the code but the bolt doesn't move. Disassemble and reinstall the lock following the installation guide: make sure the latch bolt was fully retracted (unlocked position) before installation, the cable is properly routed, and the exterior and interior assemblies are both aligned parallel to the door edge.
The app won't connect (gateway-paired locks). Confirm the gateway is plugged in and its indicator light shows active status. Make sure your phone is on the same Wi-Fi network as the gateway during initial pairing. If pairing still fails, restart the gateway and try again.
The app won't connect (Wi-Fi Smart Locks). Wi-Fi smart locks connect to 2.4 GHz networks — not 5 GHz. If your router broadcasts both bands under the same name, try temporarily separating them in your router settings and connecting the lock to the 2.4 GHz band specifically.
Fingerprint fails to recognize after enrollment. Enroll the same finger a second time as a separate entry. Fingerprint readers work best when you also enroll the finger at a slight angle to capture edge-of-finger reads, which are common when grabbing a door handle casually.
You're Done: One Screwdriver, 15 Minutes, a Smarter Front Door
Installing a smart lock yourself is genuinely one of the most accessible home upgrades you can do. There's no wiring, no cutting, and no professional needed — just a screwdriver, a little patience with the programming step, and about 15 minutes. The payoff is a door that fits your household: entry codes for family members, fingerprint access for anyone who hates fumbling with keys, and remote control for the moments you can't be there in person.
Veise locks are built around exactly that reality — practical security that works for real households, priced between $30 and $180, with no subscription fees and no cloud dependency for the features that matter most. Whether you're outfitting a front door with a keypad deadbolt, adding app-connected control with a Wi-Fi smart lock, or setting up remote access for a rental property through a Smart Lock w/ G1 or Smart Lock w/ G2, the install process is the same: remove the old lock, mount the new one, program your codes, test before closing the door.
Frequently Asked Questions
Can I install a smart lock myself, or do I need a locksmith?
You can absolutely install a smart lock yourself. Most smart lock installations are a direct swap for an existing deadbolt or latch lock — same door prep holes, no wiring, no cutting. The only tool you need is a screwdriver. A professional locksmith is only necessary if your door has no existing lock prep holes or if the door needs structural work.
How long does smart lock installation take?
Most installations take around 15 minutes. Adding programming time for access codes, fingerprints, and app setup brings the total to 20 to 30 minutes for a fully connected smart lock. A basic keypad deadbolt with no app setup can be done in closer to 10 minutes.
Do I need to drill new holes in my door?
In most cases, no. Standard residential exterior doors already have pre-drilled cross-bore and edge-bore holes from the existing deadbolt. Smart locks use these same holes. Drilling is only needed if the door has never had a deadbolt installed.
What door types are compatible with smart locks?
Smart locks are designed for wood doors between 1‑3/8" and 2" thick. They are not compatible with fiberglass, metal, storm, or sliding doors. If your exterior door is standard solid wood, it will work with most smart lock models.
Do Veise smart locks require a subscription or monthly fee?
No. Veise locks have no subscription fees. Features like fingerprint access, keypad codes, and local app control work out of the box without any ongoing charges. Remote access via Smart Lock w/ Gateway 1/2 and Wi-Fi smart locks also requires no subscription — just an active Internet connection.
What happens if the batteries die — am I locked out?
All Veise smart locks include a physical key as a backup. Every Smart Lock w/ G1 (the entire VE017 series) and every Touchscreen Wi-Fi Smart Lock (the entire VE027 series) also includes a USB-C emergency power port that lets you connect an external power source to operate the lock long enough to get inside and change the batteries.
Can a renter install a smart lock?
A smart lock is a full lock replacement, meaning it permanently modifies the door hardware. Renters typically need explicit permission from their landlord before replacing any lock. If you're a property owner or manager, installing a smart lock on your own rental property is entirely appropriate — and a gateway-paired or Wi-Fi smart lock makes managing guest access significantly easier.
Do I need Wi-Fi for a smart lock to work?
It depends on the lock type. Keypad deadbolts and keypad latch locks require no Wi-Fi at all — they work entirely offline. Smart Locks w/ G1 or G2 require a paired gateway for remote access, but keypad and physical key functions work without any connection. Wi-Fi Smart Locks need an active Internet connection for remote features, but keypad, fingerprint, and physical key access always work locally regardless of Wi-Fi status.
Have questions about which Veise lock fits your door? Our US-based support team is ready to help you pick the right model and walk through any installation questions.
Or browse the full Veise lineup — from keypad deadbolts to Wi-Fi smart locks — and find the right lock for every door in your home.

Leave a comment
This site is protected by hCaptcha and the hCaptcha Privacy Policy and Terms of Service apply.