

Replacing or installing a deadbolt lock is one of the most impactful home security upgrades you can make — and one of the most beginner-friendly. Whether you've just moved into a new home, want to replace a worn-out lock, or are simply tightening up your front door security, the entire job typically takes about 15 minutes, requires only a screwdriver, and doesn't need an electrician or a locksmith. No wiring, no professional help, no stress.
This guide walks you through everything: choosing the right deadbolt, prepping your door, installing the hardware correctly, and troubleshooting the small issues that sometimes pop up. If you're also considering stepping up to a keypad or smart deadbolt — the kind that lets you ditch the key entirely — we'll cover that too, including what to look for and what questions to ask before you buy.
Why Installing a Deadbolt Is Worth Your Time
A standard door latch — the spring-loaded bolt built into most doorknobs — offers minimal resistance to forced entry. A deadbolt is fundamentally different. It uses a solid steel bolt that extends a full inch or more into the door frame, making it dramatically harder to kick in or pry open. Security experts consistently recommend deadbolts as the baseline for any exterior door, and for good reason: they're simple, durable, and highly effective.
Beyond security, installing a new deadbolt is a smart move any time you move into a new home (you never know who has a copy of the old key), after a break-in attempt nearby, when an old lock starts sticking or wearing down, or when you want to give household members keyless entry options. The job is genuinely DIY-friendly, and the confidence you'll feel afterward — knowing exactly who can enter your home — is hard to put a price on.
Types of Deadbolts: Which One Do You Need?
Before you buy anything, it helps to understand what's available. Deadbolts generally fall into a few categories based on how they lock and unlock.
Single-cylinder deadbolts are the most common residential choice. They use a key on the outside and a thumbturn on the inside. They're straightforward, affordable, and a solid fit for most front and back doors.
Double-cylinder deadbolts require a key on both sides. They're sometimes used on doors with glass panels nearby (so an intruder can't break the glass and turn the thumbturn), but they raise a safety concern — in an emergency, you need a key to get out. Local fire codes sometimes restrict them, so check your area's rules before going this route.
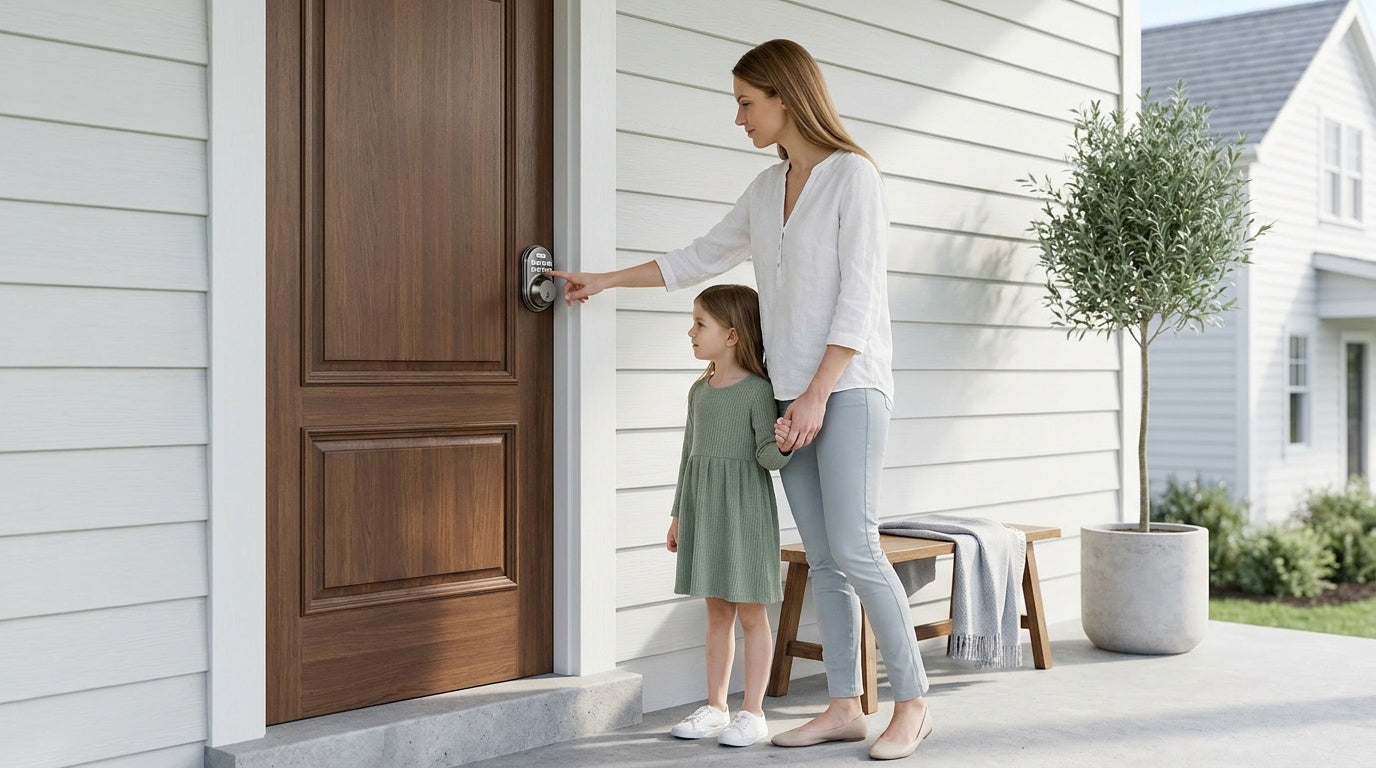
Keypad deadbolts replace the traditional key cylinder on the outside with a numeric keypad. You enter a code to unlock the door. Most models still include a physical key backup for emergencies. These are increasingly popular with families, new homeowners, and anyone tired of carrying keys. If you're looking at this option, Veise's Keypad Deadbolt Locks offer a well-rounded lineup with multiple unlock methods and a straightforward installation process.
Smart deadbolts go a step further, adding app control, remote access, and voice assistant compatibility. We'll cover smart upgrades in more detail later in this guide.
For most homeowners doing a standard install or replacement, a single-cylinder deadbolt or keypad deadbolt is typically the right call for an exterior door.
Tools and Materials You'll Need
One of the best things about a deadbolt installation is how little you actually need. Here's a quick checklist before you start:
- A screwdriver (most deadbolt kits require only this)
- A tape measure
- A hole saw kit (only if you're cutting a new hole — most replacements won't need this)
- A chisel and hammer (only if you need to mortise or adjust the door or frame)
- A pencil or marker for alignment marks
- Your new deadbolt lock (with all included hardware)
If you're replacing an existing deadbolt with a new one of the same standard size (the industry standard is a 2-1/8 inch bore hole with a standard 2-3/8 inch or 2-3/4 inch backset), you likely won't need any cutting tools at all. It's essentially bolt-in and screw-down.
Before You Begin: Door Prep Checklist
A little preparation goes a long way toward a clean, frustration-free install. Run through these checks before you pick up a screwdriver.
Confirm your door type. Deadbolts install on wood doors. If your door is fiberglass, metal, or a storm door, standard residential deadbolts typically aren't compatible — check the lock's specs before purchasing.
Measure your backset. The backset is the distance from the edge of the door to the center of the bore hole. The two most common measurements are 2-3/8 inches (common on older homes) and 2-3/4 inches (standard in newer construction). Most deadbolt kits are adjustable to fit both, but double-check the packaging.
Check your door thickness. Standard residential doors range from 1-3/8 inches to 2 inches thick. Most residential deadbolts, including Veise models, are designed for this range. Measure your door's edge before buying.
Inspect the existing bore holes. If you're replacing an old deadbolt, look at the existing hole size and strike plate location. A like-for-like replacement will drop right in. If the holes are damaged or non-standard, you may need some filler or a reinforcement plate.
Check your authority to modify. If you're installing a new lock, you're replacing hardware that is part of the door itself — this isn't the same as adding a temporary security device. Make sure you're the property owner or have clear permission to modify the door hardware before proceeding.
Step-by-Step: How to Install a Deadbolt Lock
The steps below cover a standard deadbolt replacement — swapping an existing lock for a new one of the same type. If you're installing in a fresh hole, you'll need to complete the drilling and chiseling steps before beginning the installation steps below. Every Veise lock also comes with a step-by-step user manual and an installation video — follow them alongside these steps, since small details like alignment and screw torque are the most common cause of post-install issues.
- Remove the old deadbolt. Open the door and remove the interior screws from the rose plate or housing using a screwdriver. Take out both the interior and exterior assemblies from each side of the door, then remove the latch by unscrewing the faceplate on the door edge.
- Prepare the latch and strike plate. Adjust the latch if needed based on your door’s backset, then insert it into the edge bore with the latch bolt fully retracted. Secure the latch with the provided screws and install the strike plate on the door frame.
- Install the exterior assembly. From the outside of the door, position the keypad assembly over the bore hole. Feed the connecting cable through the door opening and align the tailpiece or connector with the latch mechanism as shown in the installation guide. Do not insert the key into the cylinder during installation.
- Install the interior mounting system. Attach the mounting plate to the inside of the door using the mounting screws, keeping it straight and evenly positioned. Connect the cable from the exterior unit, then place the interior assembly onto the mounting plate and secure it firmly.
- Check the mechanical operation. Before powering the lock, rotate the interior thumb turn several times to confirm the latch extends and retracts smoothly without resistance. If it drags or sticks, check whether the bolt mechanism is fully seated or whether the mounting screws are misaligned.
- Install or adjust the strike plate on the door frame. Close the door and slowly extend the deadbolt. Mark where the bolt contacts the frame. The strike plate hole needs to align with this mark. Install the strike plate with the included screws, anchoring it securely into the door frame stud for added kick-in resistance.
- Final test with the door closed. Lock and unlock the deadbolt several times with the door fully closed. It should operate without significant resistance. A little initial stiffness is normal and typically eases with use over the first week or two.
That's the full install. For most replacement jobs, this process takes well under 30 minutes, and often closer to 15.
Common Problems and How to Fix Them
Even a straightforward install can hit a snag. Here are the most common issues and simple fixes.
The bolt is hard to turn or extend. This usually means the strike plate isn't aligned perfectly with the bolt path. Close the door and observe where the bolt hits the frame — if it's slightly high, low, or to the side, loosen the strike plate screws and shift it slightly, then retighten. Alternatively, the interior assembly may be over-tightened, pinching the bolt mechanism. Back off the mounting screws slightly and retest.
The bolt extends but doesn't reach the strike plate. The door may have swollen slightly (common in humid climates), pushing the door away from the frame. Try the lock in summer versus winter — wood doors often shrink back. You can also chisel the strike plate mortise slightly deeper, giving the bolt a longer reach.
The key is hard to turn (on keyed models). A stiff cylinder is often just new-lock stiffness that breaks in with use.
The interior thumbturn spins but the bolt doesn't move. The connecting bar between the exterior and interior assemblies may have slipped or not seated properly. Remove the interior housing and verify that the tailpiece is fully engaged in the bolt mechanism's drive slot.
Thinking About Upgrading to a Smart Deadbolt?
If you're already replacing a lock, it's worth pausing for a moment to consider whether a smart or keypad deadbolt makes more sense for your home than a traditional keyed model. The install process is essentially the same — still a screwdriver, still no wiring, still 15 minutes. But the everyday experience is quite different.
A keypad deadbolt lets everyone in the household enter with a code instead of a key. That means no more hiding spare keys under flower pots, no lockouts when someone forgets their keys, and easy temporary code sharing with a dog walker, a repair person, or a house guest. On select models, fingerprint unlock is also available — fast (under 0.3 seconds), convenient, and with no code to remember. All Veise keypad deadbolts include a physical key backup, so you're never truly locked out even if the battery dies.
If you want to take things further — remote locking, entry alerts, and app-based access management — that requires a smart lock with built-in connectivity. Veise offers two connected lock categories worth knowing about.
Smart Lock w/ Gateway 1/2 pairs the lock with a separate gateway hub that connects to your home's Internet router, enabling remote access via a mobile app. The gateway is what makes remote features possible — keypad-only locks cannot be paired with a gateway. The Smart Locks w/ G1 line is built on a single product series — the VE017 — and includes fingerprint, multilingual voice prompts (English, Spanish, and French), and a USB-C emergency power port as standard across every model — a good fit for multilingual households or anyone who wants an all-in-one feature set. The Smart Locks w/ G2 line features Apple Watch unlock and a web portal, and offers both fingerprint and non-fingerprint options in various form factors.
Both Smart Lock w/ G1 and Smart Lock w/ G2 share the same core unlock options: keypad code, key fob, physical key backup, and remote app control via the paired gateway. Even when your Internet connection is down, app control on both Smart Lock w/ Gateway 1/2 and Wi-Fi smart locks continues to work locally as long as you're within short-range wireless distance of the lock.
Wi-Fi Smart Locks skip the separate hub entirely, connecting directly to your home's Wi-Fi router for remote access and app control. Veise's Wi-Fi Smart Lock lineup includes two series: the Touchscreen Wi-Fi Smart Lock (VE027 series), which features a touchscreen interface and a USB-C emergency power port, and the Push-Button Wi-Fi Smart Lock (VE012W series), which uses a traditional press-button keypad. Both series include fingerprint unlock, keypad code, physical key backup, and direct Alexa and Google Assistant voice control via their built-in Wi-Fi — no extra hub required. Both also use 8 AA batteries instead of the standard 4 AA setup, delivering a stronger signal and a more substantial power reserve.
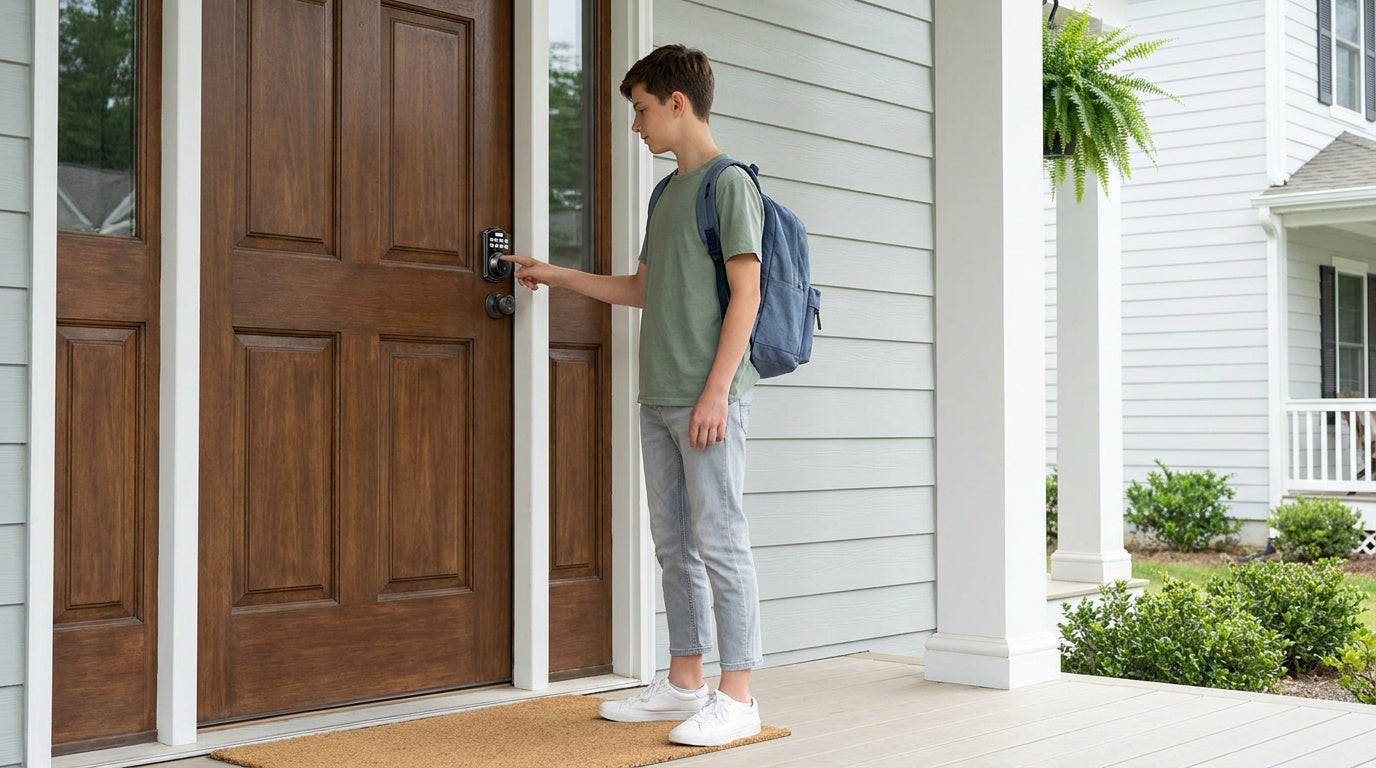
For families with children, a Wi-Fi smart lock or a gateway-paired smart lock is particularly useful — parents can check the app to see exactly when kids arrived home, review entry history, and remotely lock or unlock the door from anywhere. A keypad-only lock won't provide that kind of visibility.
All Veise smart locks are ANSI/BHMA Grade 3 certified, which is the established residential security standard. Pricing runs from $30 to $180 depending on the model, with no subscription fees and no cloud dependency — fingerprints and access data are stored locally on the device itself.
Browse the full lineup at the Veise product collection to compare models side by side, or explore the Deadbolt Lock collection if you know a deadbolt is what you need.
Final Thoughts
Installing a deadbolt lock is one of the most practical home projects you can tackle — minimal tools, no professional help needed, and real, lasting security as the payoff. Whether you're doing a straight swap on an old lock or deciding to upgrade to a keypad or smart deadbolt at the same time, the process is the same: measure twice, seat the hardware properly, align the strike plate carefully, and test before you call the job done.
If your install hits a snag, slow down and work through the troubleshooting steps above — most issues come down to alignment or seating, and both are easily corrected. And if you're on the fence about going keypad or smart, remember that the install effort is identical. You might as well future-proof your door while you have the hardware in your hands.
Frequently Asked Questions
How long does it take to install a deadbolt lock?
Most deadbolt replacements take around 15 minutes with a screwdriver. If you're cutting new bore holes from scratch, add another 20 to 30 minutes for drilling and chiseling the strike plate mortise.
Do I need a professional locksmith to install a deadbolt?
No. A standard deadbolt — including most keypad and smart deadbolts — is designed for DIY installation. You need a screwdriver and basic measuring skills. No wiring or special tools are required for a replacement install.
What size bore hole does a standard deadbolt need?
The industry standard is a 2-1/8 inch bore hole for the lock body and a 1-inch hole on the door edge for the bolt mechanism. Most residential deadbolts, including Veise models, are built for these standard dimensions.
What is the standard backset for a deadbolt?
The two most common backset measurements are 2-3/8 inches and 2-3/4 inches. Most modern deadbolts include an adjustable bolt mechanism that accommodates both. Measure from the door edge to the center of the bore hole before purchasing.
Can I install a deadbolt on any door?
Residential deadbolts are typically designed for wood doors. Fiberglass, metal, storm, and sliding doors are generally not compatible with standard deadbolt hardware. Always check the lock manufacturer's compatibility specs before buying.
Can a renter install a deadbolt?
Installing a deadbolt means replacing existing door hardware — it's a permanent modification to the door itself. Most rental agreements require landlord approval for hardware changes, and some prohibit them outright. If you're a tenant, check your lease and get written permission before proceeding.
Is a keypad deadbolt harder to install than a traditional keyed deadbolt?
No. The physical installation process is identical. The only additional steps for a keypad deadbolt are installing batteries and programming your access codes, both of which typically take just a few minutes after the hardware is in place.
Do smart deadbolts require an electrician or special wiring?
No. Smart deadbolts run on standard AA/LR6 alkaline batteries and require no wiring. The install is the same as any deadbolt — just a screwdriver and about 15 minutes. Connectivity features like app control or remote access are handled by the lock's built-in wireless hardware, not by your home's electrical system.
What happens if the battery dies on a keypad or smart deadbolt?
All Veise keypad and smart deadbolts include a physical key backup so you're never locked out due to a dead battery. Select models (the VE017 and VE027 series) also include a USB-C emergency power port, allowing you to temporarily power the lock with a portable charger to regain electronic access.
Need Help Choosing the Right Lock?
Whether you're replacing a single deadbolt or securing every door in your home, Veise's US-based support team is ready to help you find the right fit — by phone or email, no bots.
Contact Us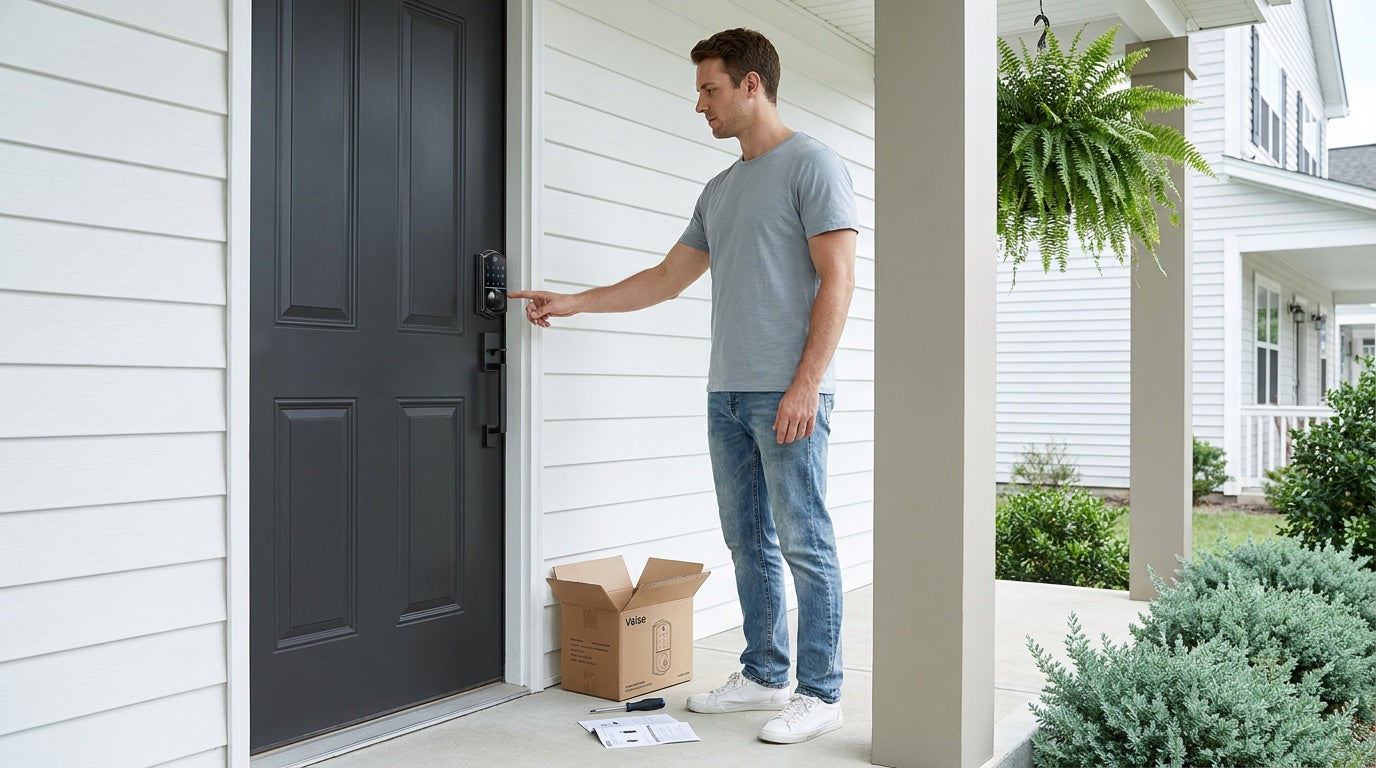
Leave a comment
This site is protected by hCaptcha and the hCaptcha Privacy Policy and Terms of Service apply.