
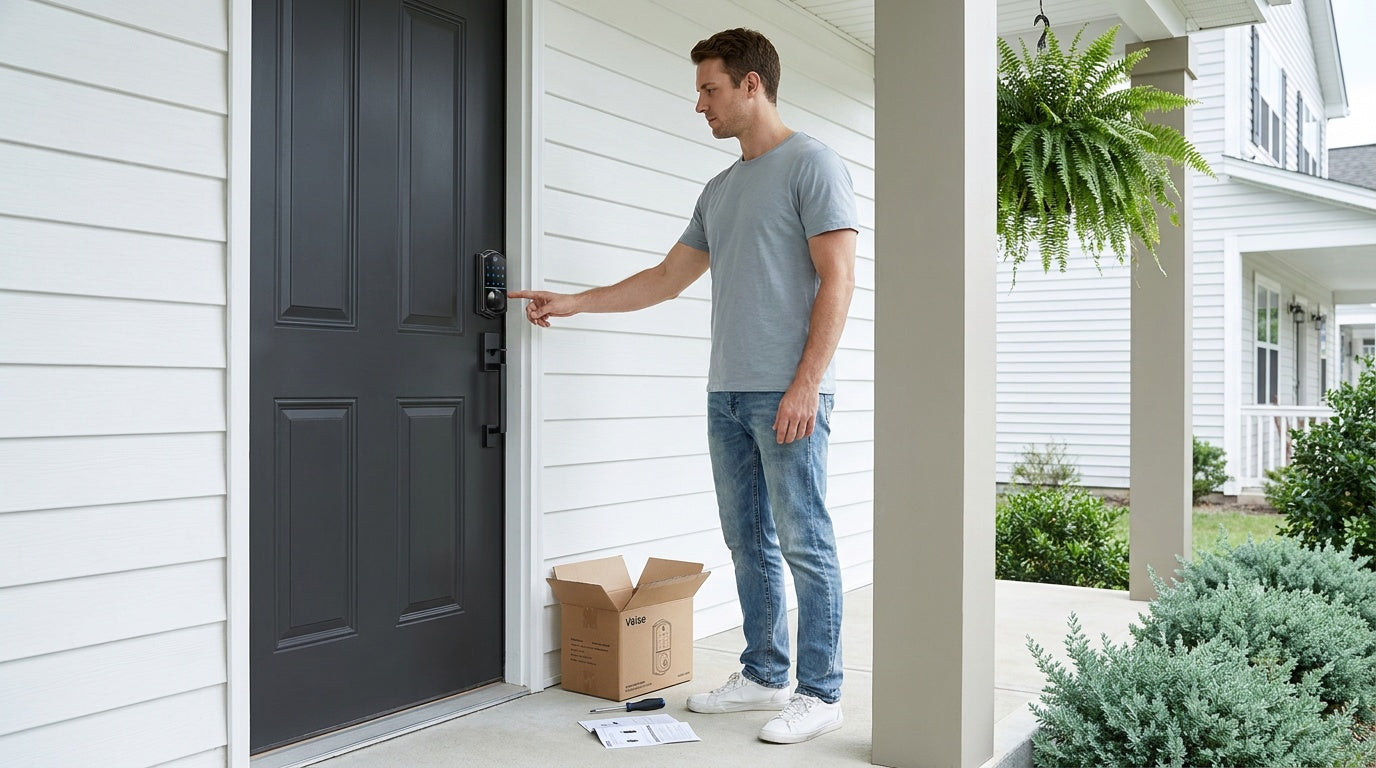
Installing a smart lock sounds like it should be complicated — wires, drilling, maybe a professional. The reality? Most smart lock installations take about 15 minutes and require nothing more than a screwdriver. No wiring, no special skills, no contractor visit.
This guide walks you through the full process: picking the right lock for your door, removing your old hardware, mounting the new lock, programming access codes, and connecting to your phone for remote control. Whether you're a new homeowner replacing a builder-grade deadbolt, a landlord upgrading a rental property, or a family that just wants a smarter front door, the steps are the same. Follow along and you'll have a fully working smart lock before your next cup of coffee gets cold.
Before You Start: What to Know About Your Door
Not every smart lock works on every door, and skipping this check is the number one reason installs go sideways. Before you buy anything, confirm a few basics about your door and existing hardware.
Door material: Most residential smart locks, including all Veise models, are designed for wood doors. Fiberglass, metal, storm, and sliding doors are not compatible. If you have a hollow-core metal door or a fiberglass entry door, a standard smart lock replacement is not the right path.
Door thickness: Standard residential doors measure between 1-3/8" and 2" thick. Measure your door's edge before purchasing — most locks specify a thickness range in their product listing. Veise locks are built for this standard residential range.
Existing hole size: Most deadbolts and lock sets use a standard 2-1/8" bore hole on the face of the door and a 1" cross bore on the edge. If your door already has a lock installed, it almost certainly has these standard cuts. You're doing a full hardware replacement, not an overlay, so the existing prep work is your foundation.
Property authority: Because smart lock installation involves replacing the full lock hardware, you need to be the property owner or have explicit authority to modify door hardware. This matters for landlords upgrading rental properties, Airbnb hosts prepping a vacation cabin, or new homeowners taking over from a previous occupant.
What You'll Need
One of the biggest selling points of modern smart locks is how little you actually need to install them. Gather these items before you begin:
- Your new smart lock (with all included hardware and screws)
- A screwdriver
- Fresh AA/LR6 alkaline batteries (Veise locks don't ship with batteries — pick up a fresh set before you start)
- Your smartphone, if the lock includes app-based setup
- The instruction sheet included in the box
That's genuinely the full list for most installations. No drill, no wire stripper, no level, no wall anchors. If your door already has a standard lock in place, you're working with a hole that's already the right size.
Step 1: Choose the Right Smart Lock for Your Door
The installation process is nearly identical across lock types, but the lock you choose should match how your door is used and what features matter most to your household. Getting this decision right before you install saves you from swapping hardware later.
Exterior doors typically call for a deadbolt or a full lock set with a deadbolt component. A keypad deadbolt is the most popular choice for a front or back door — it replaces the existing deadbolt with a unit that opens via keypad code and physical key backup, with fingerprint access available on select models. If your door uses a latch lock as a secondary access point alongside a separate deadbolt, a keypad latch lock handles daily code-based entry while your deadbolt handles primary security.
Interior, side, and garage doors commonly use knobs or lever handles rather than deadbolts. From Veise's mechanical lock lineup, a keyed entry door knob or keyed entry door lever is often a fit for these locations, depending on how much security you need at that entry point.
If remote access matters to you — getting a notification when your kids arrive home, letting in a guest from across town, or managing entry at a short-term rental property — you need a smart lock with connectivity, not just a keypad. Remote access requires a smart lock: either a gateway-paired model or a Wi-Fi model. A keypad-only lock cannot be paired with a gateway to gain remote access.
Veise offers two connected lock categories for this purpose. The Smart Lock w/ G1 and Smart Lock w/ G2 both use a paired gateway to extend control to your phone remotely — including keypad code, key fob, physical key, and app-based remote control, with fingerprint included on most models. The Wi-Fi Smart Lock has connectivity built directly into the lock, no gateway required, and supports Alexa and Google Assistant voice commands via its built-in Wi-Fi. For families with kids, a Wi-Fi smart lock or a gateway-paired smart lock is the better pick — parents can remotely review entry history and monitor lock activity through the app, which a keypad-only lock simply can't provide.
All Veise locks are priced in the $30–$180 range, require no subscription fees, and store access data locally on the device with no cloud dependency required for basic operation.
Step 2: Remove Your Existing Lock
With your new lock in hand and your tools ready, start by taking out the old hardware. This step is straightforward and typically takes under five minutes.
- Open the door and keep it open – Work with the door in an open position so you have easy access to both sides and can operate the latch or bolt freely during removal.
- Remove the interior escutcheon or cover plate – On the interior side of the door, locate the screws holding the interior lock assembly in place. Remove them and pull the interior piece away from the door.
- Pull out the exterior assembly – With the interior piece removed, the exterior assembly (the part with the keyhole or keypad) should pull free from the door face. Some models have a connecting spindle or cylinder running through the door — slide it out as you remove the exterior piece.
- Remove the latch or deadbolt from the door edge – Unscrew the faceplate on the door edge and slide out the latch or deadbolt mechanism. Set it aside.
- Clean up the hole – Wipe the bore hole and edge hole with a dry cloth. Check for any old putty, paint buildup, or debris that might prevent the new hardware from sitting flush.
Keep your old hardware in a safe place until the new lock is fully installed and working. If anything goes wrong during installation, you can temporarily reinstall the original lock while you troubleshoot.
Step 3: Install the New Smart Lock
The installation sequence for a full smart lock replacement follows the reverse of removal: start at the door edge, work toward the exterior, finish with the interior assembly. Follow the included installation guide and step-by-step video that ship with every Veise lock — every model has slightly different screw placements and alignment steps, and the small details (alignment, screw torque) are the most common source of post-install issues — but the general flow is consistent across brands and categories.
- Insert the latch or deadbolt into the edge of the door – Slide the new latch or deadbolt mechanism into the edge bore hole. The faceplate should sit flush with the door edge. Fasten it with the included screws.
- Feed the connecting components through the door – Most smart locks have a spindle, or wire harness that passes through the bore hole. Thread this through from the exterior side before attaching either assembly.
- Mount the exterior assembly – Align the exterior keypad or touchscreen unit with the bore hole and press it into place against the door face. The connecting spindle or cable should pass cleanly through to the interior side.
- Attach the interior assembly and tighten – On the interior side, align the interior cover or motor unit with the mounting plate and the connection point. Insert and hand-tighten the provided screws, then snug them down with your screwdriver. Do not overtighten — you want the assembly secure but not deforming the door surface.
- Test the bolt or latch manually – Before installing batteries, test that the deadbolt or latch moves smoothly using the thumb turn on the interior. It should extend and retract without binding. If there's resistance, loosen the screws slightly and re-center the assembly.
- Install the batteries – Open the battery compartment (typically on the interior assembly) and insert fresh AA/LR6 alkaline batteries according to the polarity indicators. The lock will typically give a confirmation beep or indicator light when power is recognized.
At this point, the physical installation is complete. Most Veise installs land right at the 15-minute mark, often faster on a second install once you know the sequence.
Step 4: Program and Test Your Lock
With the lock physically in place and powered, the next step is setting up access. This varies by lock type, but the principles are the same: establish a master or programming code first, then add user codes, enroll fingerprints if your lock supports them, and test every access method before considering the job done.
Setting an access code: Follow the pairing or programming steps in your instruction sheet to enter programming mode and set your first access code. Choose a code that's memorable but not predictable — avoid birth years, sequential digits, or your house number. Once your primary code is set, add secondary codes for family members, housekeepers, or regular visitors as needed.
Enrolling fingerprints (select models): If your lock includes a fingerprint sensor, enrollment captures your finger eight times to build a reliable template across different angles and pressure levels. Veise's fingerprint scanner uses a local AI chip to process and store prints directly on the lock — no cloud account, no Internet required, and no data leaving the device. Recognition happens in under 0.3 seconds once enrolled.
Testing all entry methods: Before closing everything up, run through every access method your lock supports. Enter your code and confirm the bolt retracts cleanly. Try your physical key backup. If your lock has fingerprint, test it from multiple angles. If a key fob is included, test that as well. Test the auto lock function by leaving the door unlocked and watching it re-engage — the auto lock interval on Veise locks is configurable — 10 to 99 seconds on Keypad Deadbolt and Keypad Latch locks, and 10 to 180 seconds on Smart Lock w/ Gateway 1/2 and Wi-Fi smart locks — so set it to whatever suits your household's routine.
Step 5: Connect for Remote Access (Optional but Recommended)
If you've installed a Smart Lock w/ Gateway 1/2 or a Wi-Fi Smart Lock, this step unlocks the features that make a smart lock genuinely smarter than a keypad: remote control, entry history, and real-time alerts from wherever you are.
For Smart Lock w/ G1 or G2: Plug your gateway into a power outlet near your Wi-Fi router. Download the appropriate app and follow the pairing steps to connect the gateway to your home network and link it to the lock. Once paired, the gateway bridges your lock to remote control via the app. If your Wi-Fi goes down but you're within short-range wireless distance of the lock, app control continues to work locally — only long-distance remote features like off-site alerts require active Internet. The Smart Lock w/ G1 line is one unified product series with multilingual voice prompts (English, Spanish, and French), making it a strong choice for multilingual households. The Smart Lock w/ G2 line supports English voice prompts and adds Apple Watch unlock and web portal access for users who want those features.
For Wi-Fi Smart Locks: The lock connects directly to your home Wi-Fi without a separate gateway. Open the app, follow the on-screen pairing steps, and the lock registers on your network. Alexa and Google Assistant voice commands are supported natively via the built-in Wi-Fi connection. Veise's Wi-Fi Smart Locks use an 8 AA battery design (compared to the standard 4 AA setup common in the category), delivering stronger signal and more stable connectivity alongside a larger power reserve. Two series are available: the Touchscreen Wi-Fi Smart Lock (VE027 Series), which features a touchscreen interface, a USB-C emergency power port, key fob support, and on-device multilingual voice prompts (English, Spanish, and French), and the Push-Button Wi-Fi Smart Lock (VE012W Series), which uses a traditional press-button keypad and does not include USB-C, key fob, or on-device voice prompts. Both series share built-in Wi-Fi connectivity and fingerprint recognition.
Once connected, take a few minutes to customize your notification settings and verify that the entry history log is recording correctly. This is especially useful for parents tracking after-school arrivals or property owners monitoring access at a rental.
Common Installation Mistakes to Avoid
Most installation problems come from a small handful of avoidable errors. Keep these in mind as you work:
- Skipping the door compatibility check. Installing a lock on a fiberglass or metal door that isn't compatible with the hardware will result in a poor fit or a non-functional install. Confirm your door is wood and within the standard thickness range before purchasing.
- Overtightening the mounting screws. Snug is enough. Over-tightening can warp the interior cover, create drag on the bolt mechanism, or strip the screw holes in a wood door.
- Not testing before closing the door. Always test the bolt, the thumb turn, and every access method with the door open before you trust it with a closed door. Getting locked out during setup is a frustrating and avoidable situation.
- Installing batteries before testing the mechanical fit. Run through the manual bolt test first. If alignment needs adjusting, it's easier to do before battery-powered components are active.
- Assuming a keypad lock can do remote access. A keypad deadbolt without connectivity is a great lock — but it can't send you notifications or be controlled from your phone. If remote access is important, choose a gateway-paired or Wi-Fi smart lock from the start rather than upgrading later.
- Forgetting to update the strike plate. If the new deadbolt's bolt doesn't align cleanly with the existing strike plate in the door frame, the lock will feel stiff or won't fully engage. Minor adjustments to the strike plate position are normal and fix the issue quickly.
Frequently Asked Questions
Do I need to drill new holes to install a smart lock?
In most cases, no. If your door already has a standard lock installed, it has the bore holes a replacement smart lock needs. You're swapping out existing hardware, not adding new cuts to the door. Drilling would only be required if your door has never had a lock installed, or if you're adding a second lock to a door that currently has only one.
How long does a smart lock installation take?
Most residential smart lock installations take about 15 minutes with a screwdriver and basic mechanical comfort. The physical swap of old hardware for new is the fast part. If your lock includes app-based setup and Wi-Fi or gateway pairing, add another 5 to 10 minutes for the digital configuration steps.
Can a renter install a smart lock?
Because smart lock installation involves full hardware replacement (not an overlay on the existing lock), the person installing needs property authority — either as the owner or with the landlord's explicit permission to modify door hardware. Landlords and property managers who want to upgrade a rental unit should check local regulations and confirm the lock's compatibility with the door before purchasing.
What kind of door works with a Veise smart lock?
Veise locks are compatible with wood doors measuring between 1-3/8" and 2" thick. They are not compatible with fiberglass, metal, storm, or sliding doors. If you're unsure of your door's material, check the door edge — a wood door will show visible wood grain or a wood core at the edge.
What happens if the Wi-Fi goes down — does my smart lock stop working?
No. Your smart lock continues to work through keypad code, fingerprint (if equipped), physical key, and key fob (depending on model) regardless of Wi-Fi status. For gateway-paired and Wi-Fi smart locks: even when Wi-Fi is down, app control continues to work locally as long as you're within short-range wireless distance of the lock. Only long-distance remote features — like controlling the lock from across town or receiving off-site entry alerts — require an active Internet connection.
Do Veise smart locks require a monthly subscription?
No. Veise locks have no subscription fees. Access history, fingerprint data, and programmed codes are all stored locally on the lock itself. There is no cloud account required for standard operation, and no recurring charge to maintain full functionality.
What's the difference between a Smart Lock w/ Gateway 1/2 and a Wi-Fi Smart Lock?
A Smart Lock w/ Gateway 1/2 connects to your home network through a separate gateway device that plugs into a power outlet near your router. The gateway bridges the lock's wireless signal to the Internet. A Wi-Fi Smart Lock has the connectivity built directly into the lock itself — no gateway required. Both support remote app control and entry history. Wi-Fi smart locks additionally support native Alexa and Google Assistant voice commands via their built-in Wi-Fi; Smart Lock w/ Gateway 1/2 supports voice control when the paired gateway is in place and connected.
Smart lock installation is genuinely one of the easier home upgrades you can make. Fifteen minutes, a screwdriver, and the right lock for your door — and you've replaced an outdated piece of hardware with something that fits the way modern families actually live. Keypad codes for the kids, fingerprint access for yourself, remote monitoring for when you're away, and a physical key backup for peace of mind.
The key is making the right lock choice before you start. Match the lock type to your door's position and your household's needs, confirm your door is wood and standard thickness, and the installation itself almost takes care of itself. Veise's full lineup covers every scenario from a simple keypad deadbolt to a fully connected Wi-Fi smart lock — all at an affordable price, with no subscription required and no professional installation needed.
Ready to find the right lock for your door?
Browse the full Veise lineup — from straightforward keypad deadbolts to fully connected Wi-Fi smart locks — and find the fit for your home at iveise.com. Have questions before you buy? Contact our US-based support team — we're here to help you choose and install with confidence.

Leave a comment
This site is protected by hCaptcha and the hCaptcha Privacy Policy and Terms of Service apply.